

With summer coming to an end, now is the time to start canning some of your favorite vegetables and fruits to enjoy in colder months soon upon us. If you’ve never canned before, it truly is quite easy. All you need are some basic supplies and tools, fresh produce and spices, adequate time and a little bit of patience. You and your family will be rewarded for your work in the end!
The great thing about canning is that you know exactly what is going into each jar. You can control the salt and sugar to some degree. And homemade canned food makes great gifts — I always love receiving jellies, salsas, pickles, etc. from my friends!
Supplies needed
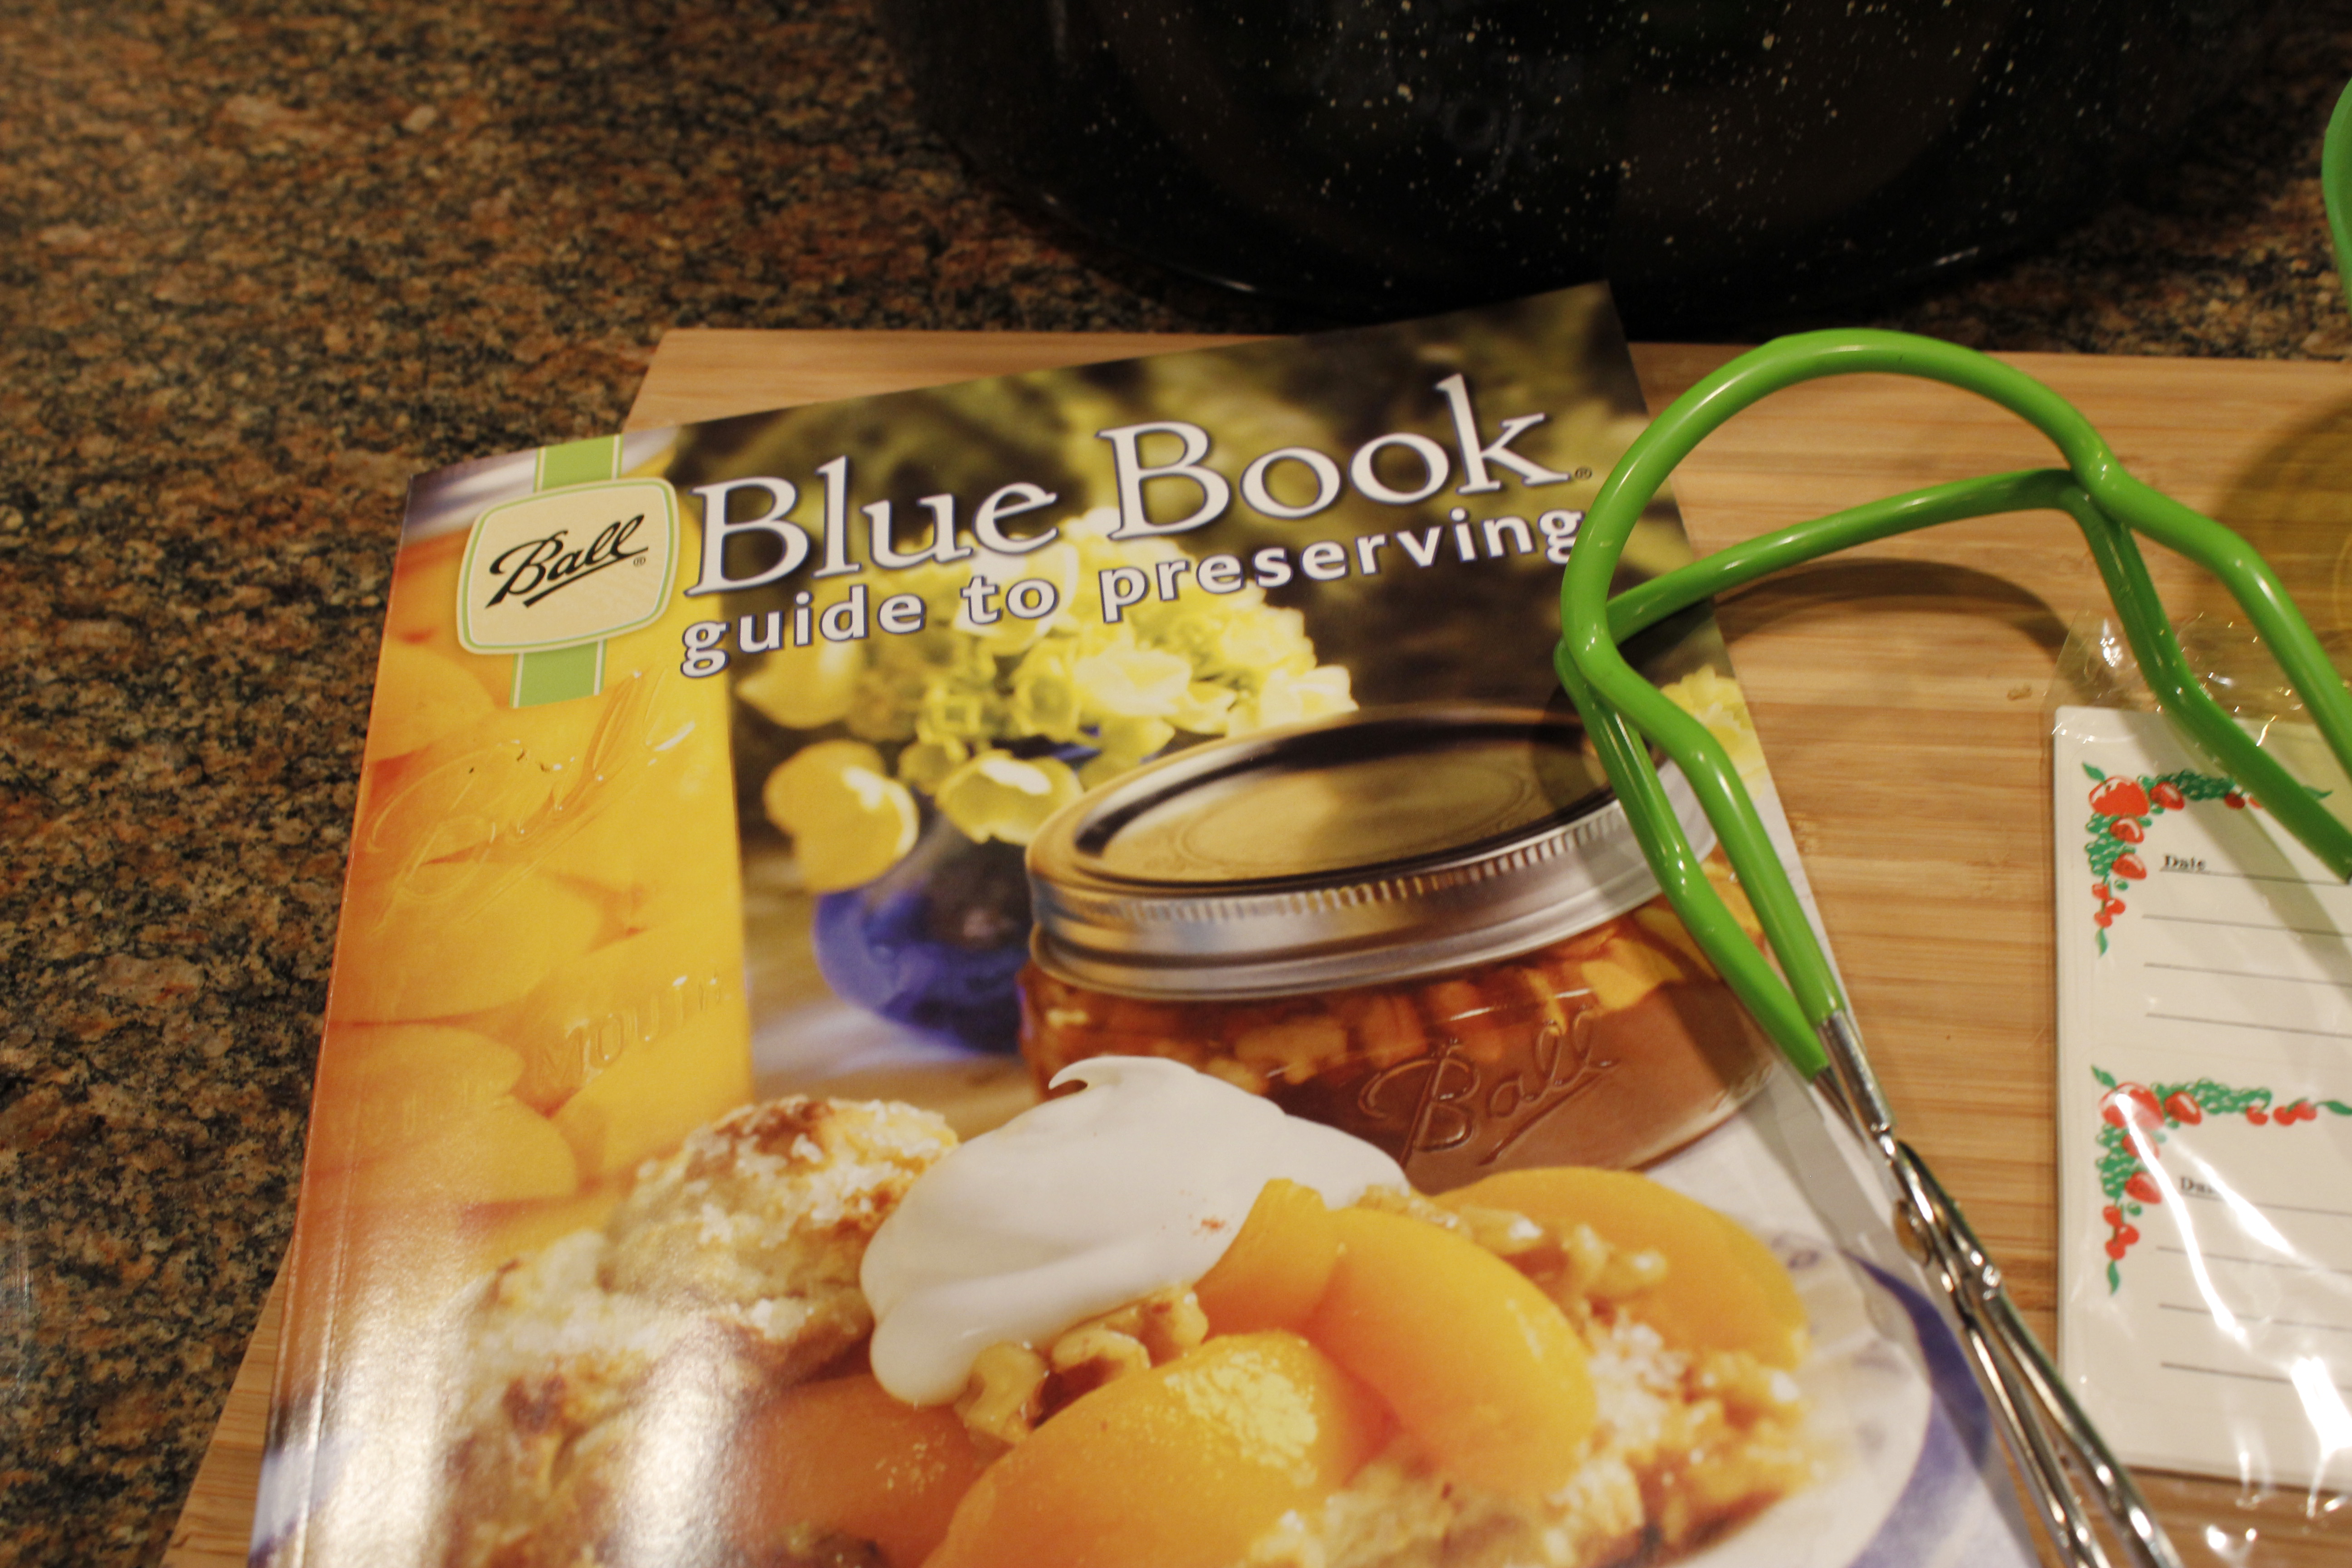
First, I recommend that you read about canning in general. I love Ball’s® Blue Book Guide to Preserving ($7.95), which you can pick up in most book stores, on Amazon, etc. It includes general how-to information, recipes, planning tips, etc. — everything you need to know to get started. Or check out Ball’s® website at http://www.freshpreserving.com/ Of course there are numerous websites out there to help get you started, so pick your favorite.
Since I no longer own a pressure cooker, I rely on the boiling-water method. Here are the basic supplies needed to get started:
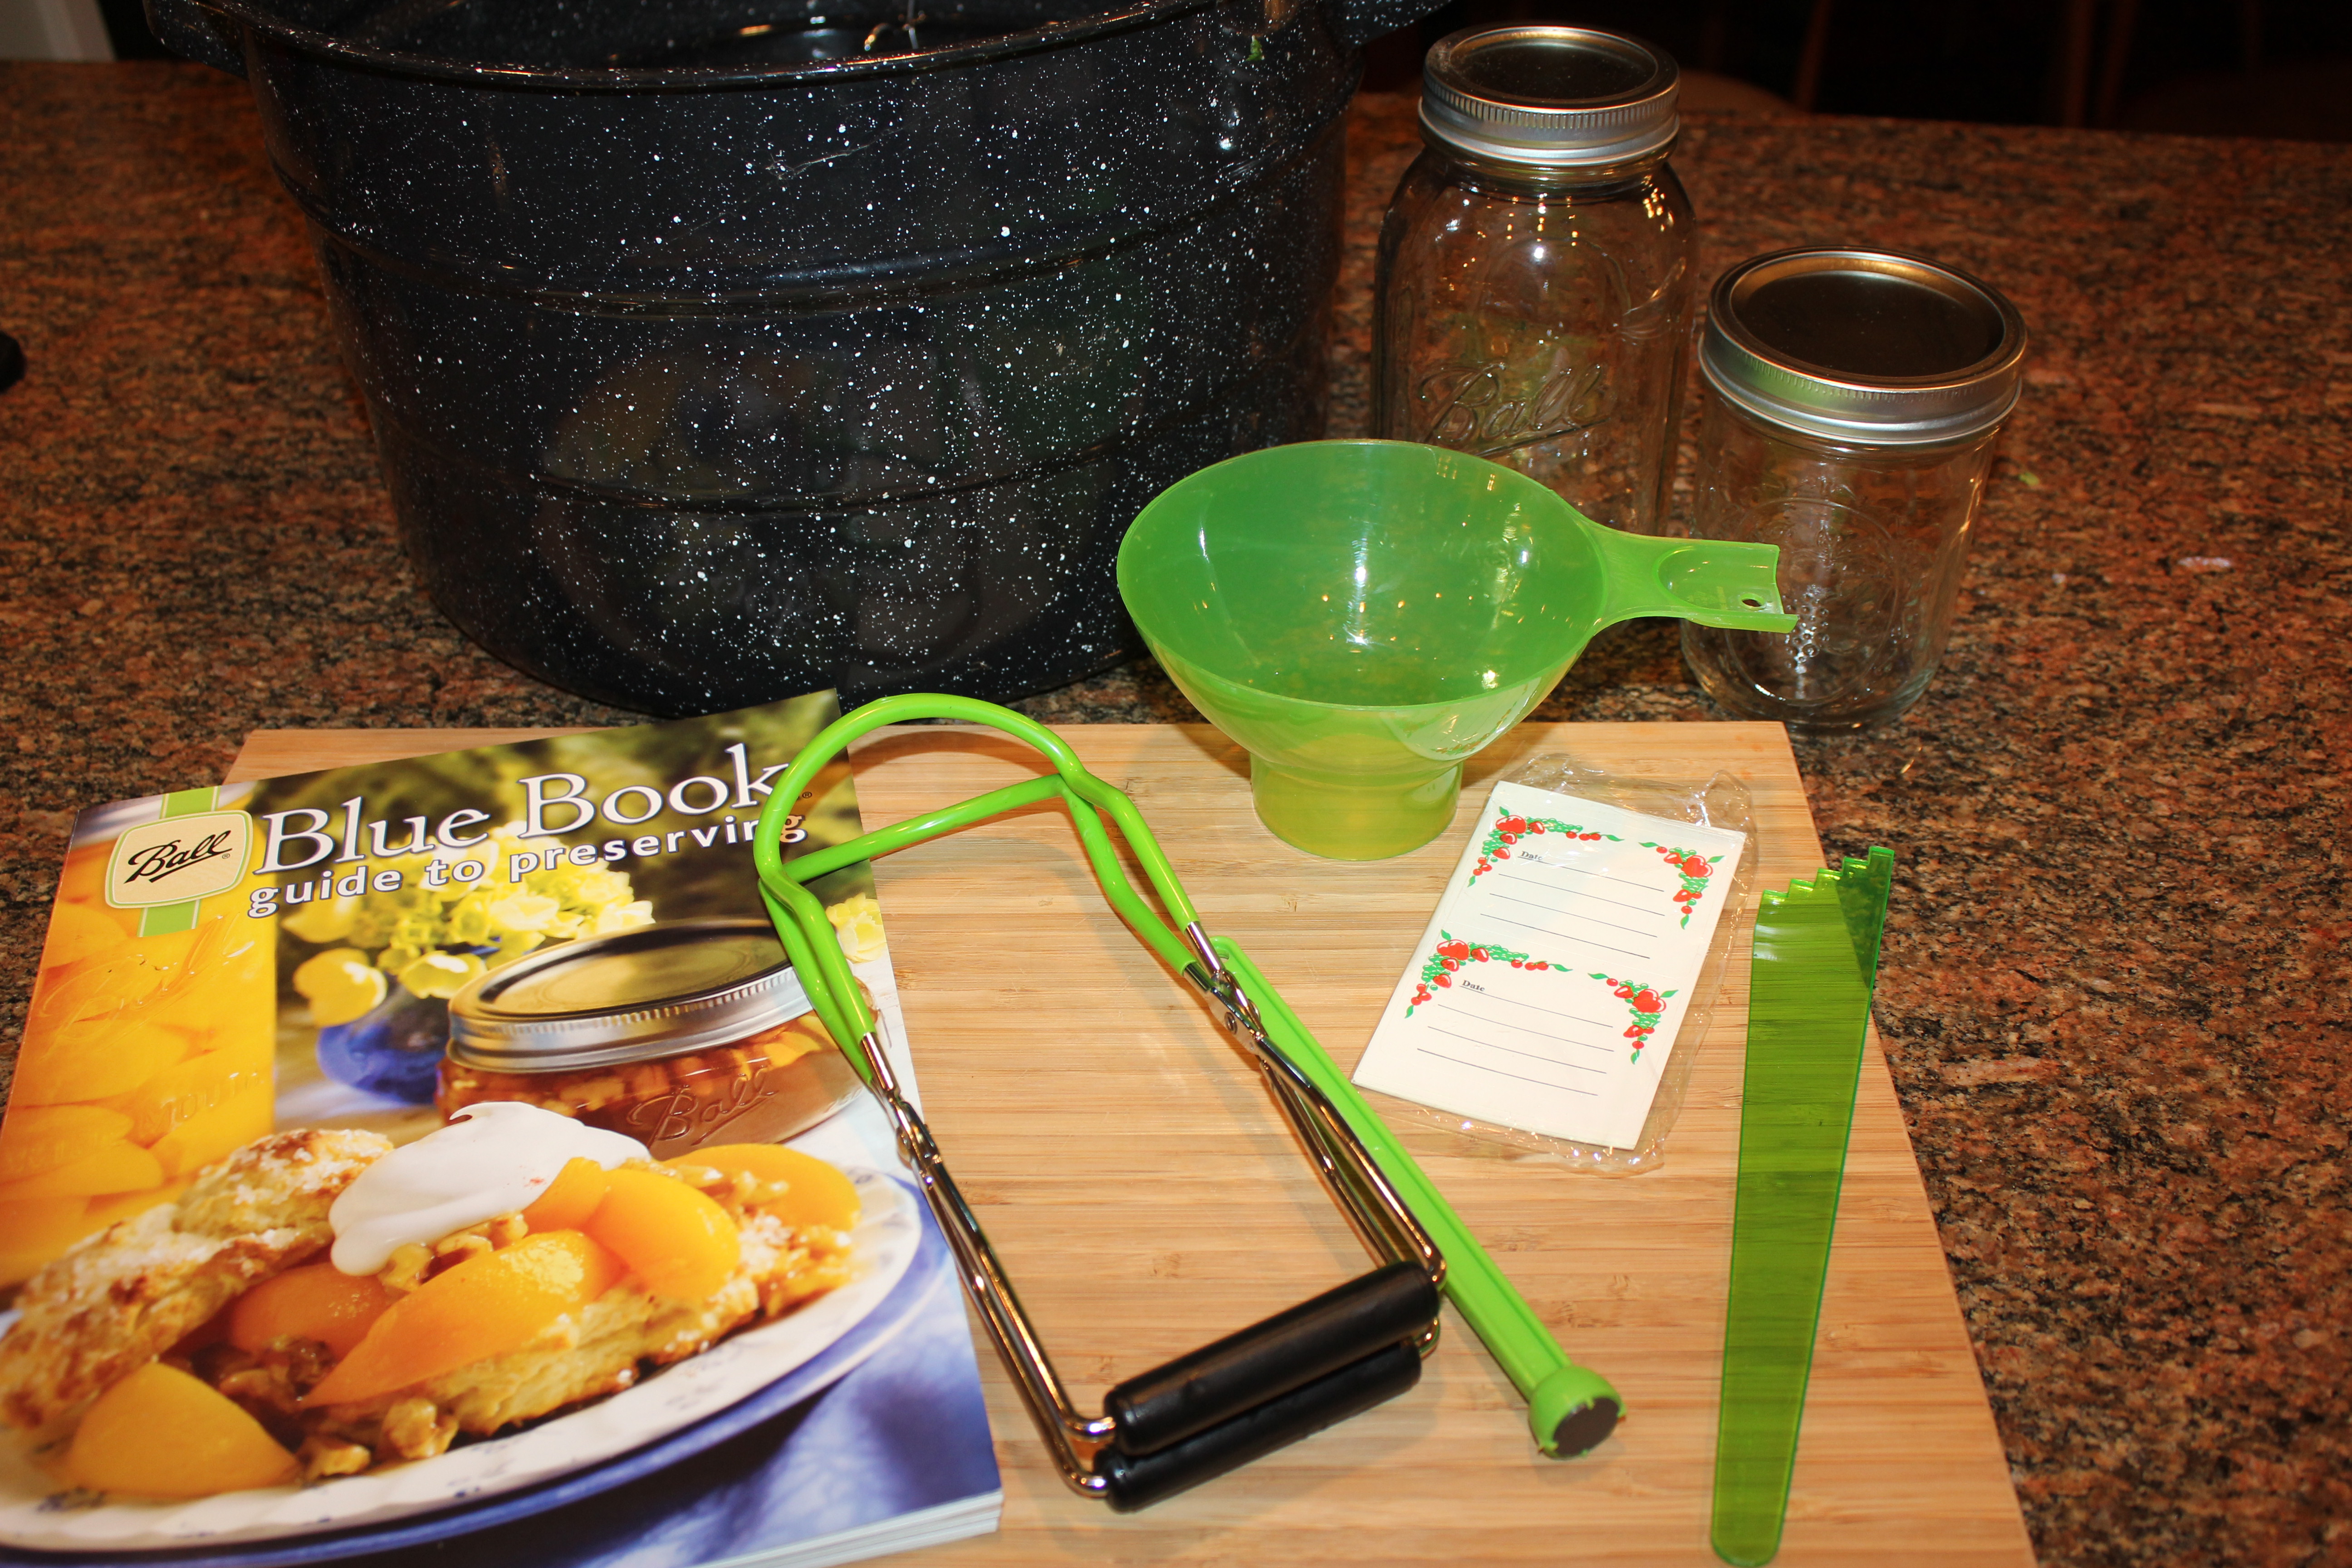
- Large canning pot with a lid
- Canning rack (it’s hiding in the canner)
- Jar lifter/tongs
- Jar funnel
- Air bubble remover
- Lid wand
- Mason jars with lids and bands (different sizes, depending on what you are canning.)
- Labels
You can buy most of these items, including the pot, in a handy kit (except the jars and lids.) I’ve seen this kit on Amazon and at Target for less than $40.00.
Other tools that I can’t live without include a kitchen timer, other large pots for blanching produce if needed, a kitchen scale, pot holders, paper towels, kitchen towels, cheesecloth, and a dark, dry space in which to store your filled jars.
Sterilization
This is the most important part of canning. You do not want to run the risk of food being spoiled by bacteria with improperly sterilized equipment. Check jars for any defects or cracks. Wash new jars in hot, soapy water, or run them through your dishwasher (make sure you use the drying feature.) Right before you are ready to fill the jars, process them in simmering water (180°) for 10 minutes. This helps prevent jar breakage.

You also need to prepare the lids and bands in a simmering water bath (180°) for 10 minutes. Lids and bands should only be used once, whereas the jars can be recycled as long as they are in good shape. You can buy just the lids and bands at places that carry canning supplies. Check your canning guide for specific instructions.
Fresh Produce
Whatever you decide to preserve, make sure the produce is at its peak and of the highest quality. Whether you are lucky enough to have your own garden (or access to one), or else rely on local vegetable stands or farmer’s markets, sample the food to make sure it passes your taste test. Always use fresh spices and herbs when called for. If you are canning fruit, it’s a good idea to use produce protector to keep it from turning brown.
You may want to start off with an easy recipe your first time out. One of my favorites is to can whole Roma tomatoes to enjoy in the winter as a base for sauces, chili, soups, etc. This recipe calls for only three ingredients — how simple is that?
Roma Tomatoes Packed in Their Juice
I recently picked up some tasty Romas at the farmer’s market to preserve for the dreary days of winter when I crave a big pot of chili or spaghetti sauce. I like to use quart-sized, wide-mouth jars when canning these.
Ingredients (makes 1 quart)
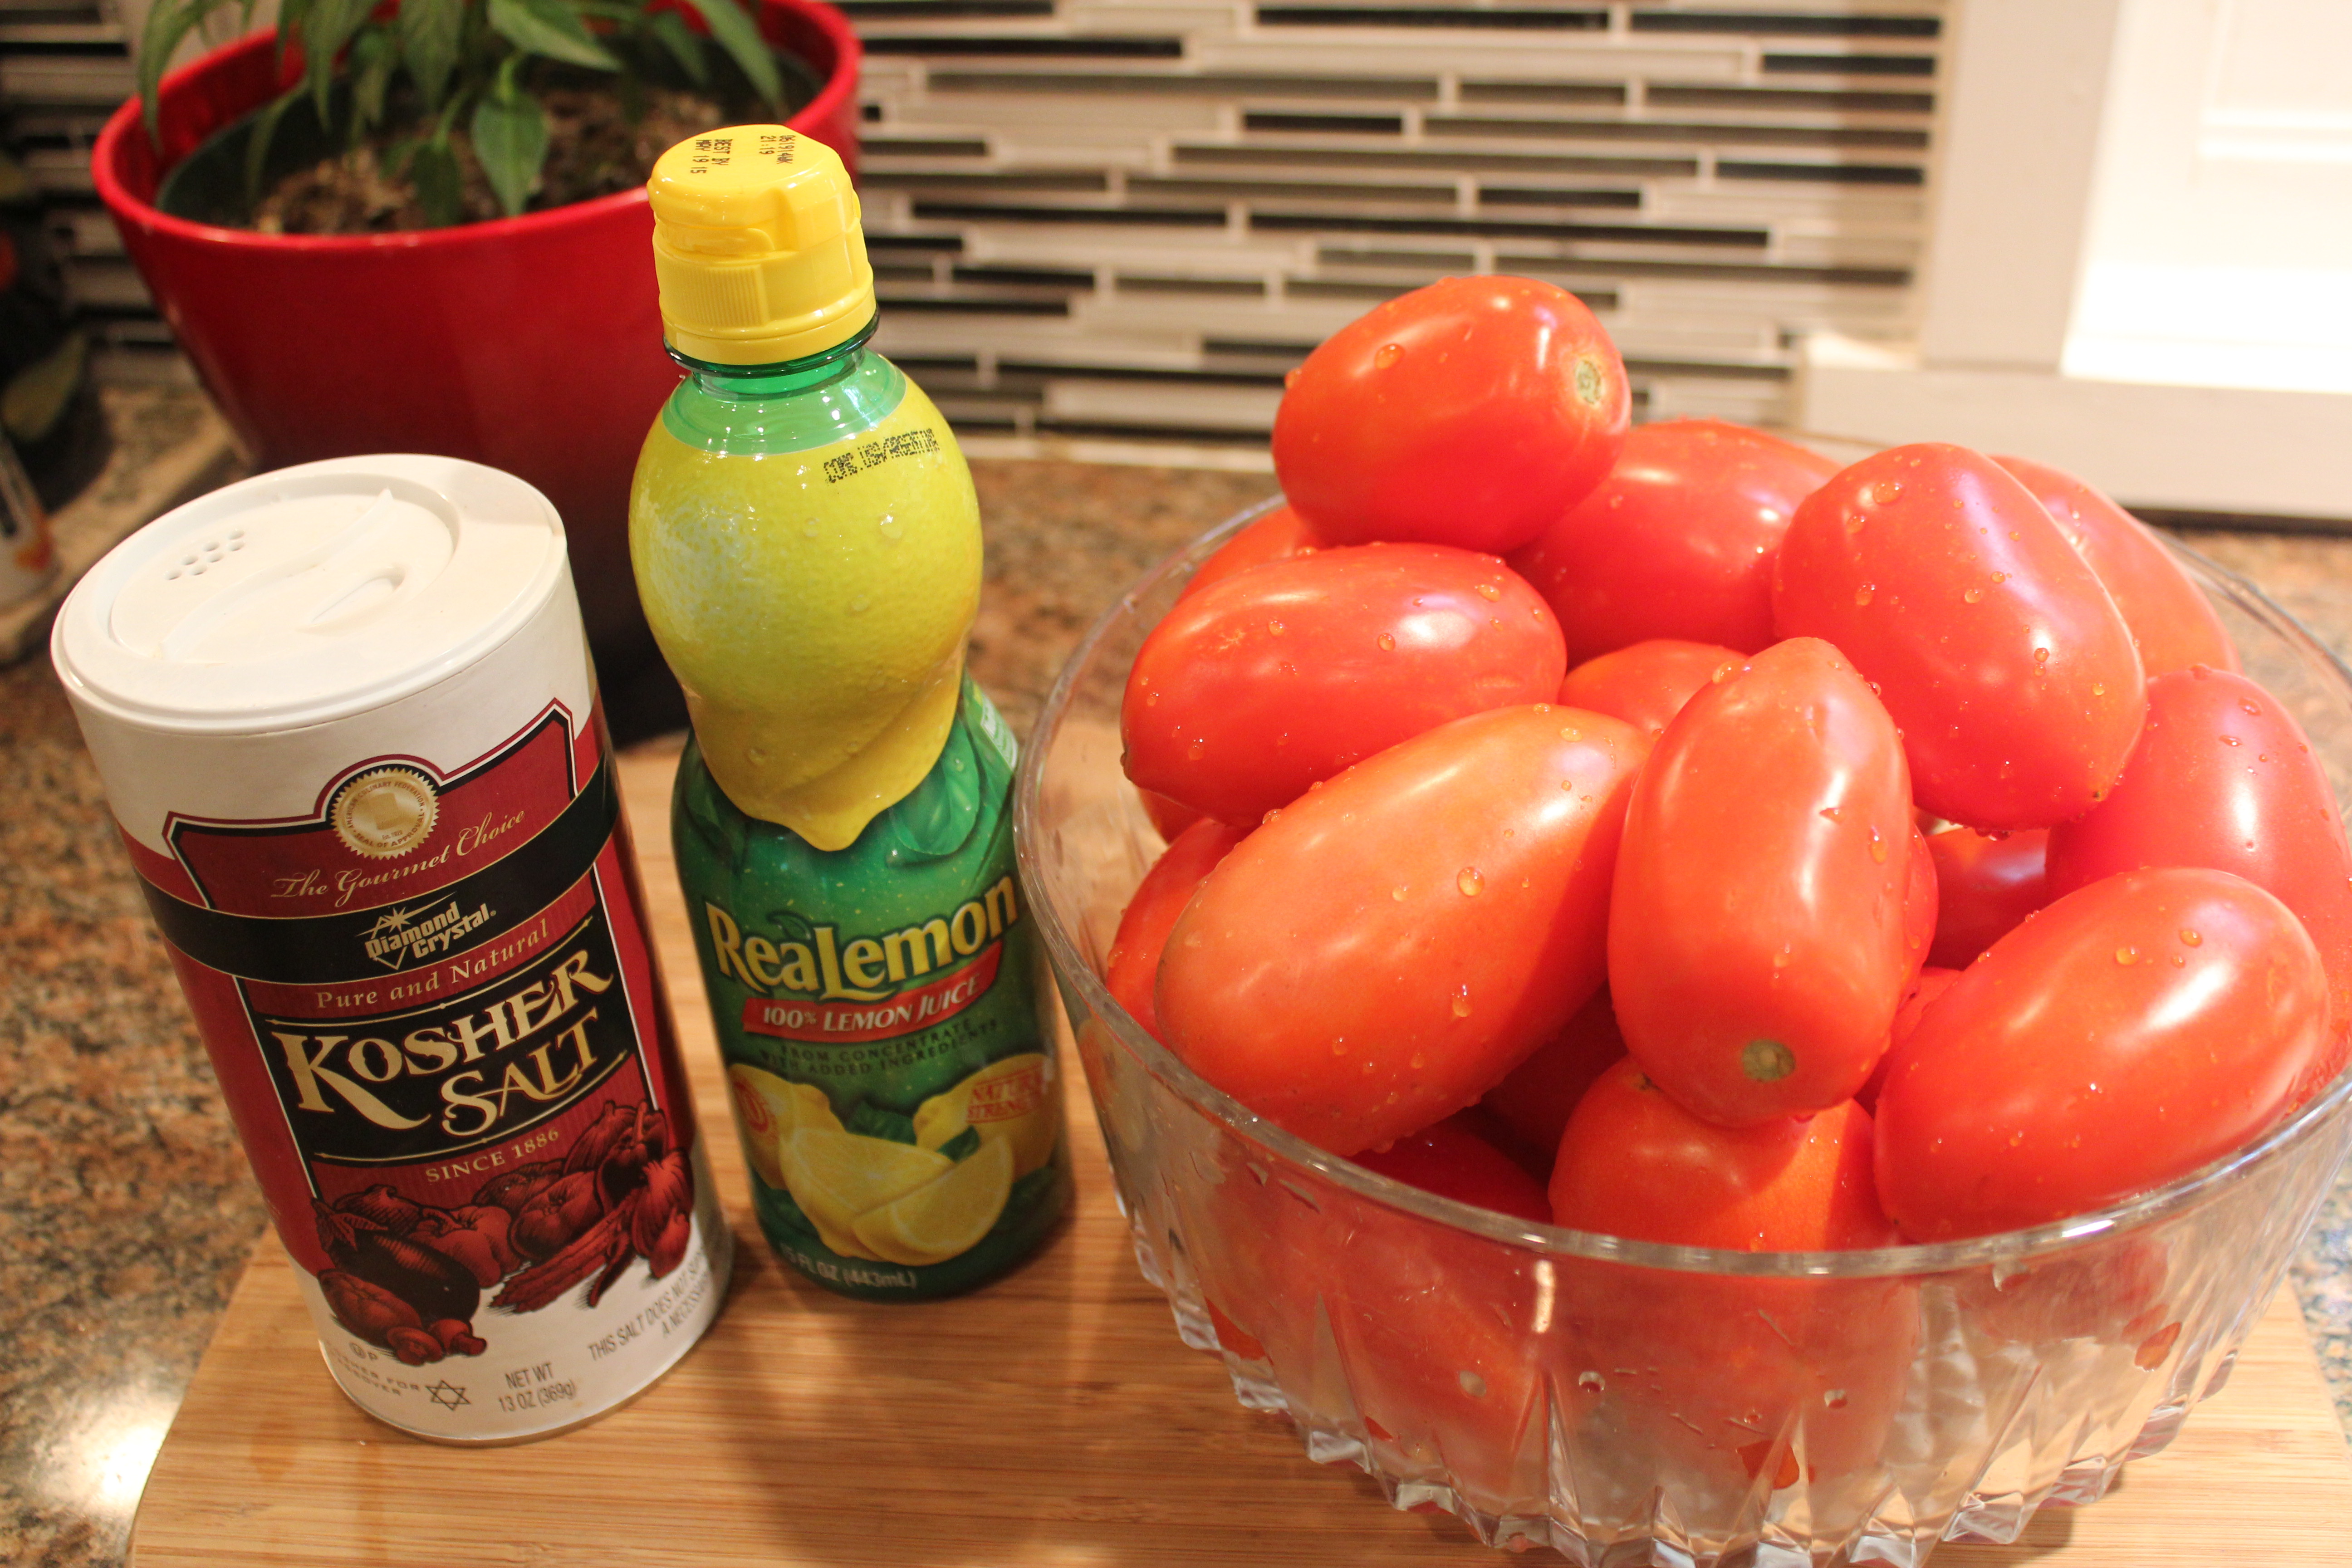
- 3 to 3 ½ pounds fresh, ripe Roma tomatoes
- 1 teaspoon salt (optional)
- 2 tablespoons bottled lemon juice
Preparation
Prepare your jars, lids and bands for canning. Jars and lids should remain in hot water until needed. While you are waiting for a separate large pot of water to boil, wash and dry your tomatoes.
Using a sharp knife, score the top of each tomato by making an “X” in it, as this will aid in the peeling.

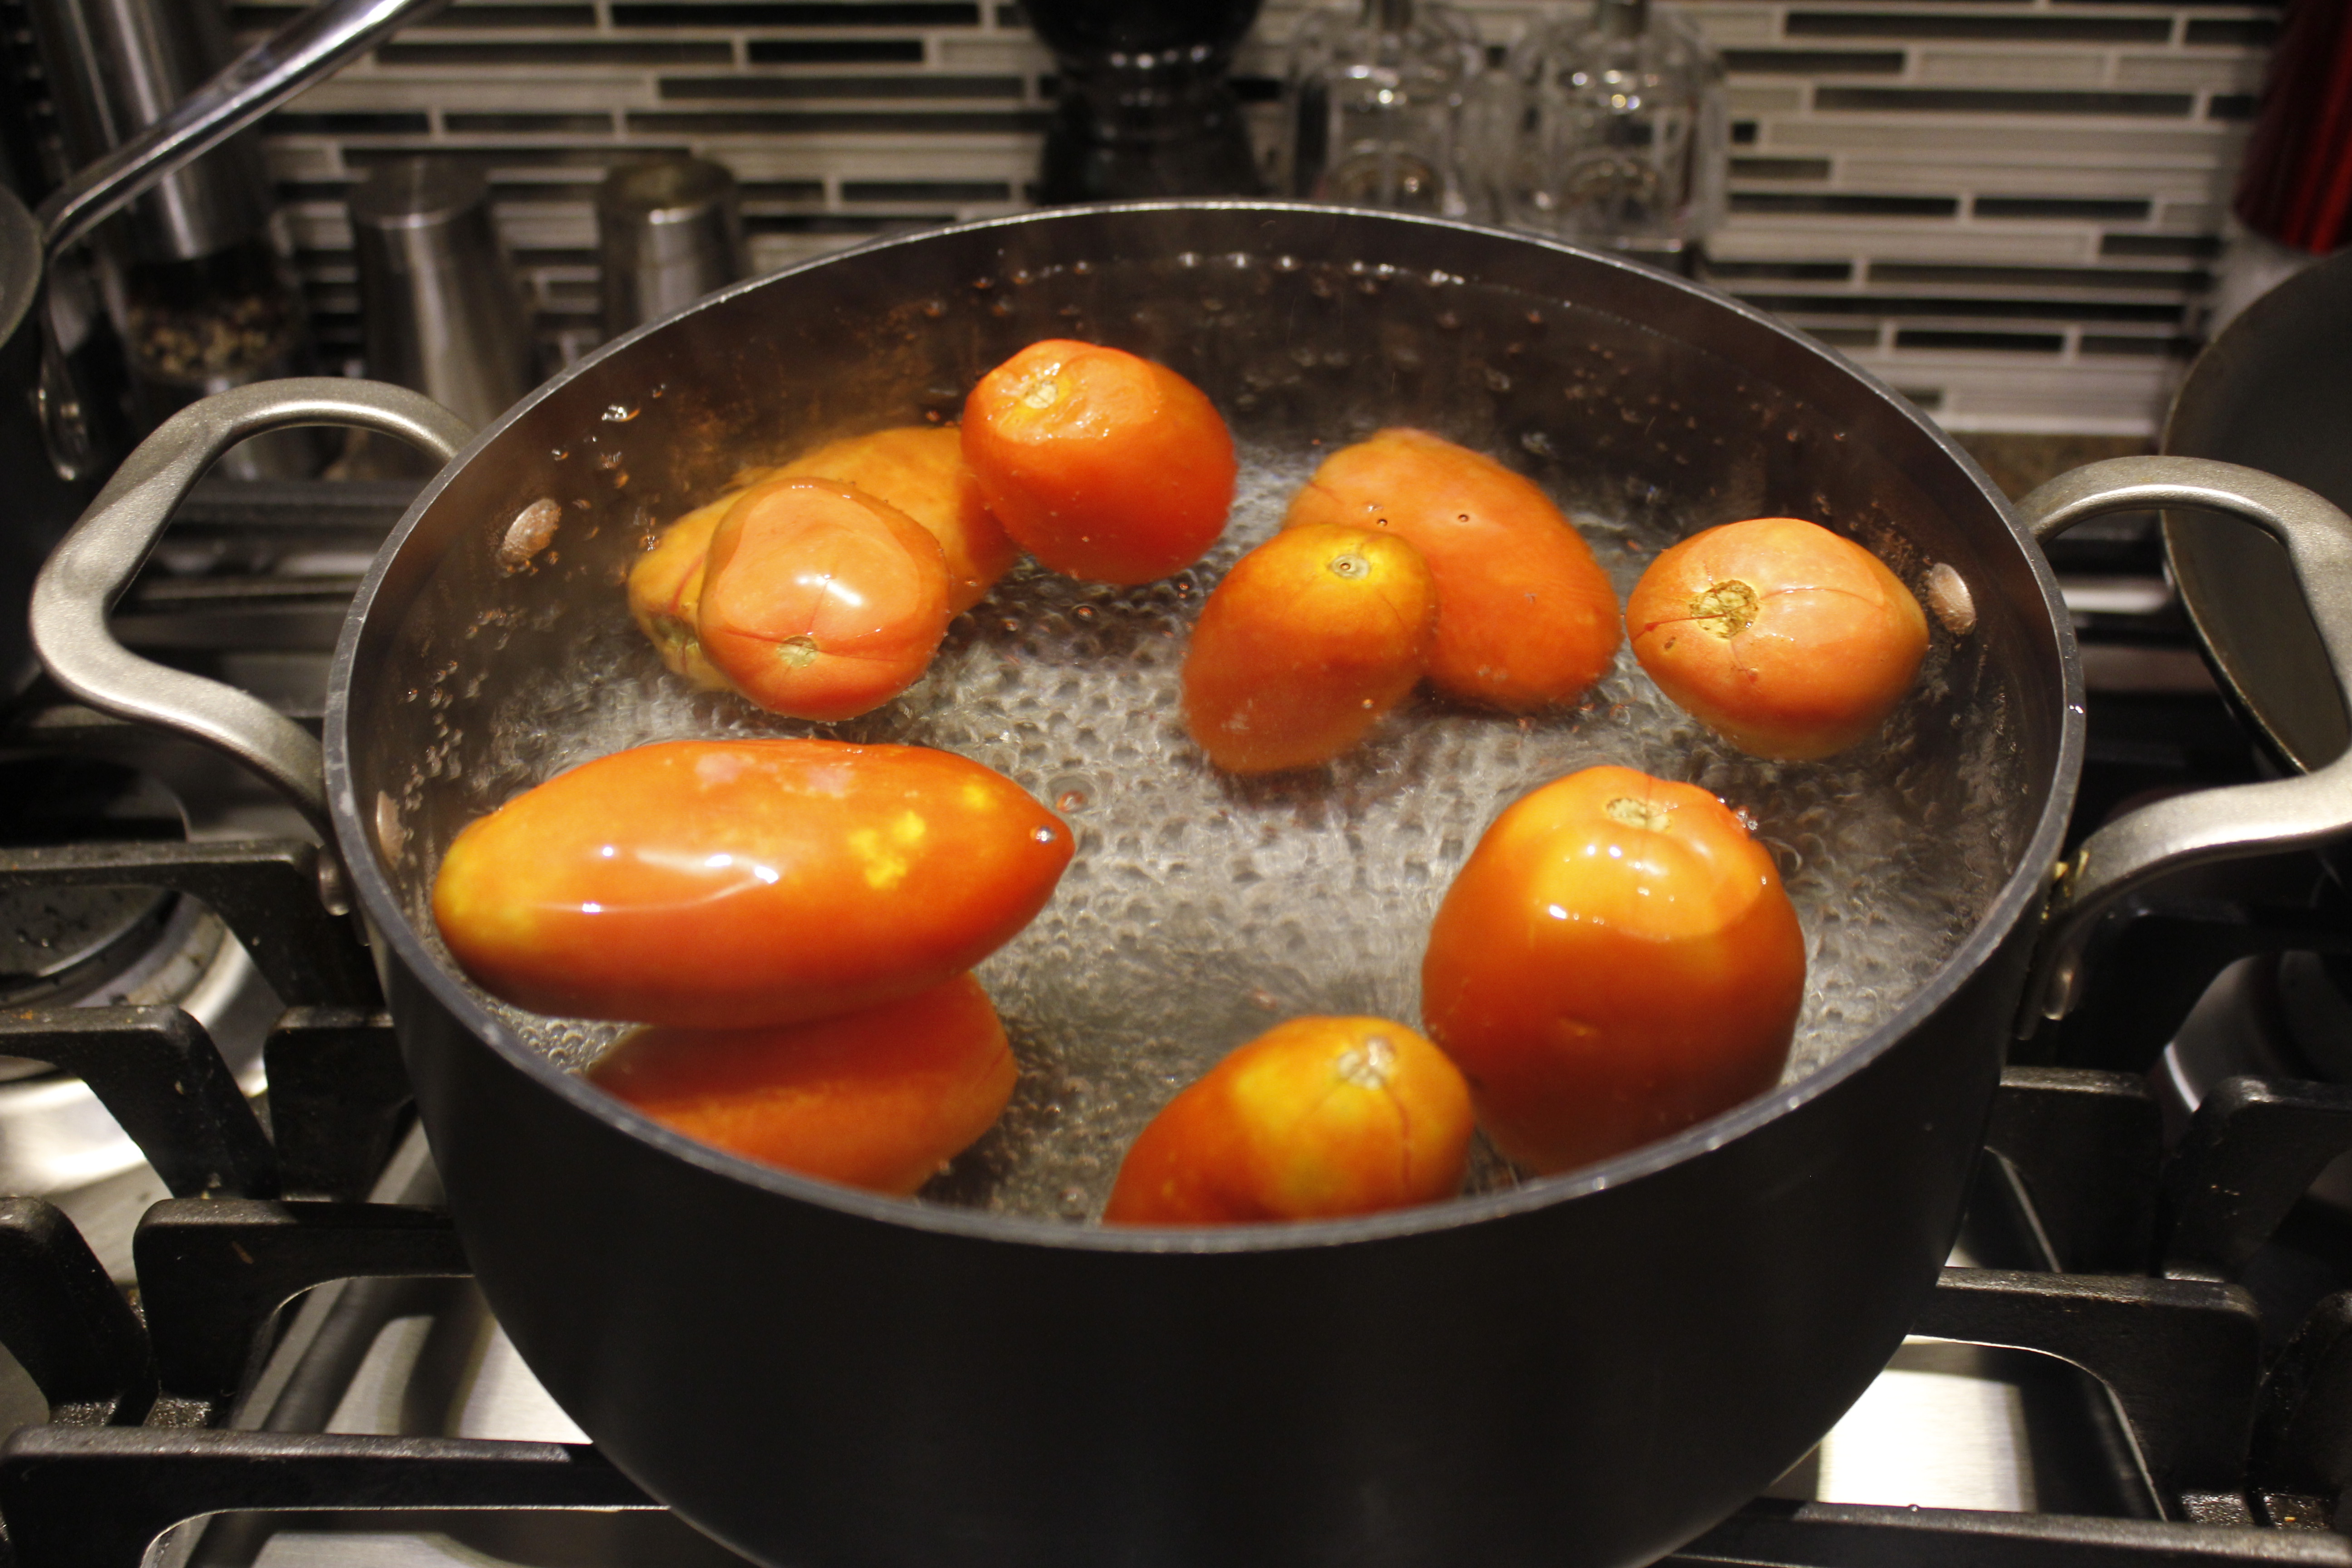
Place the tomatoes in the boiling water for 1 minute.
Transfer the Romas to an ice bath. You will need to do this several times, depending on the number of tomatoes you are canning. Make sure you add more ice as needed.

Look how easy the skins slip off!

Cut off the tops and remove any green/white areas.

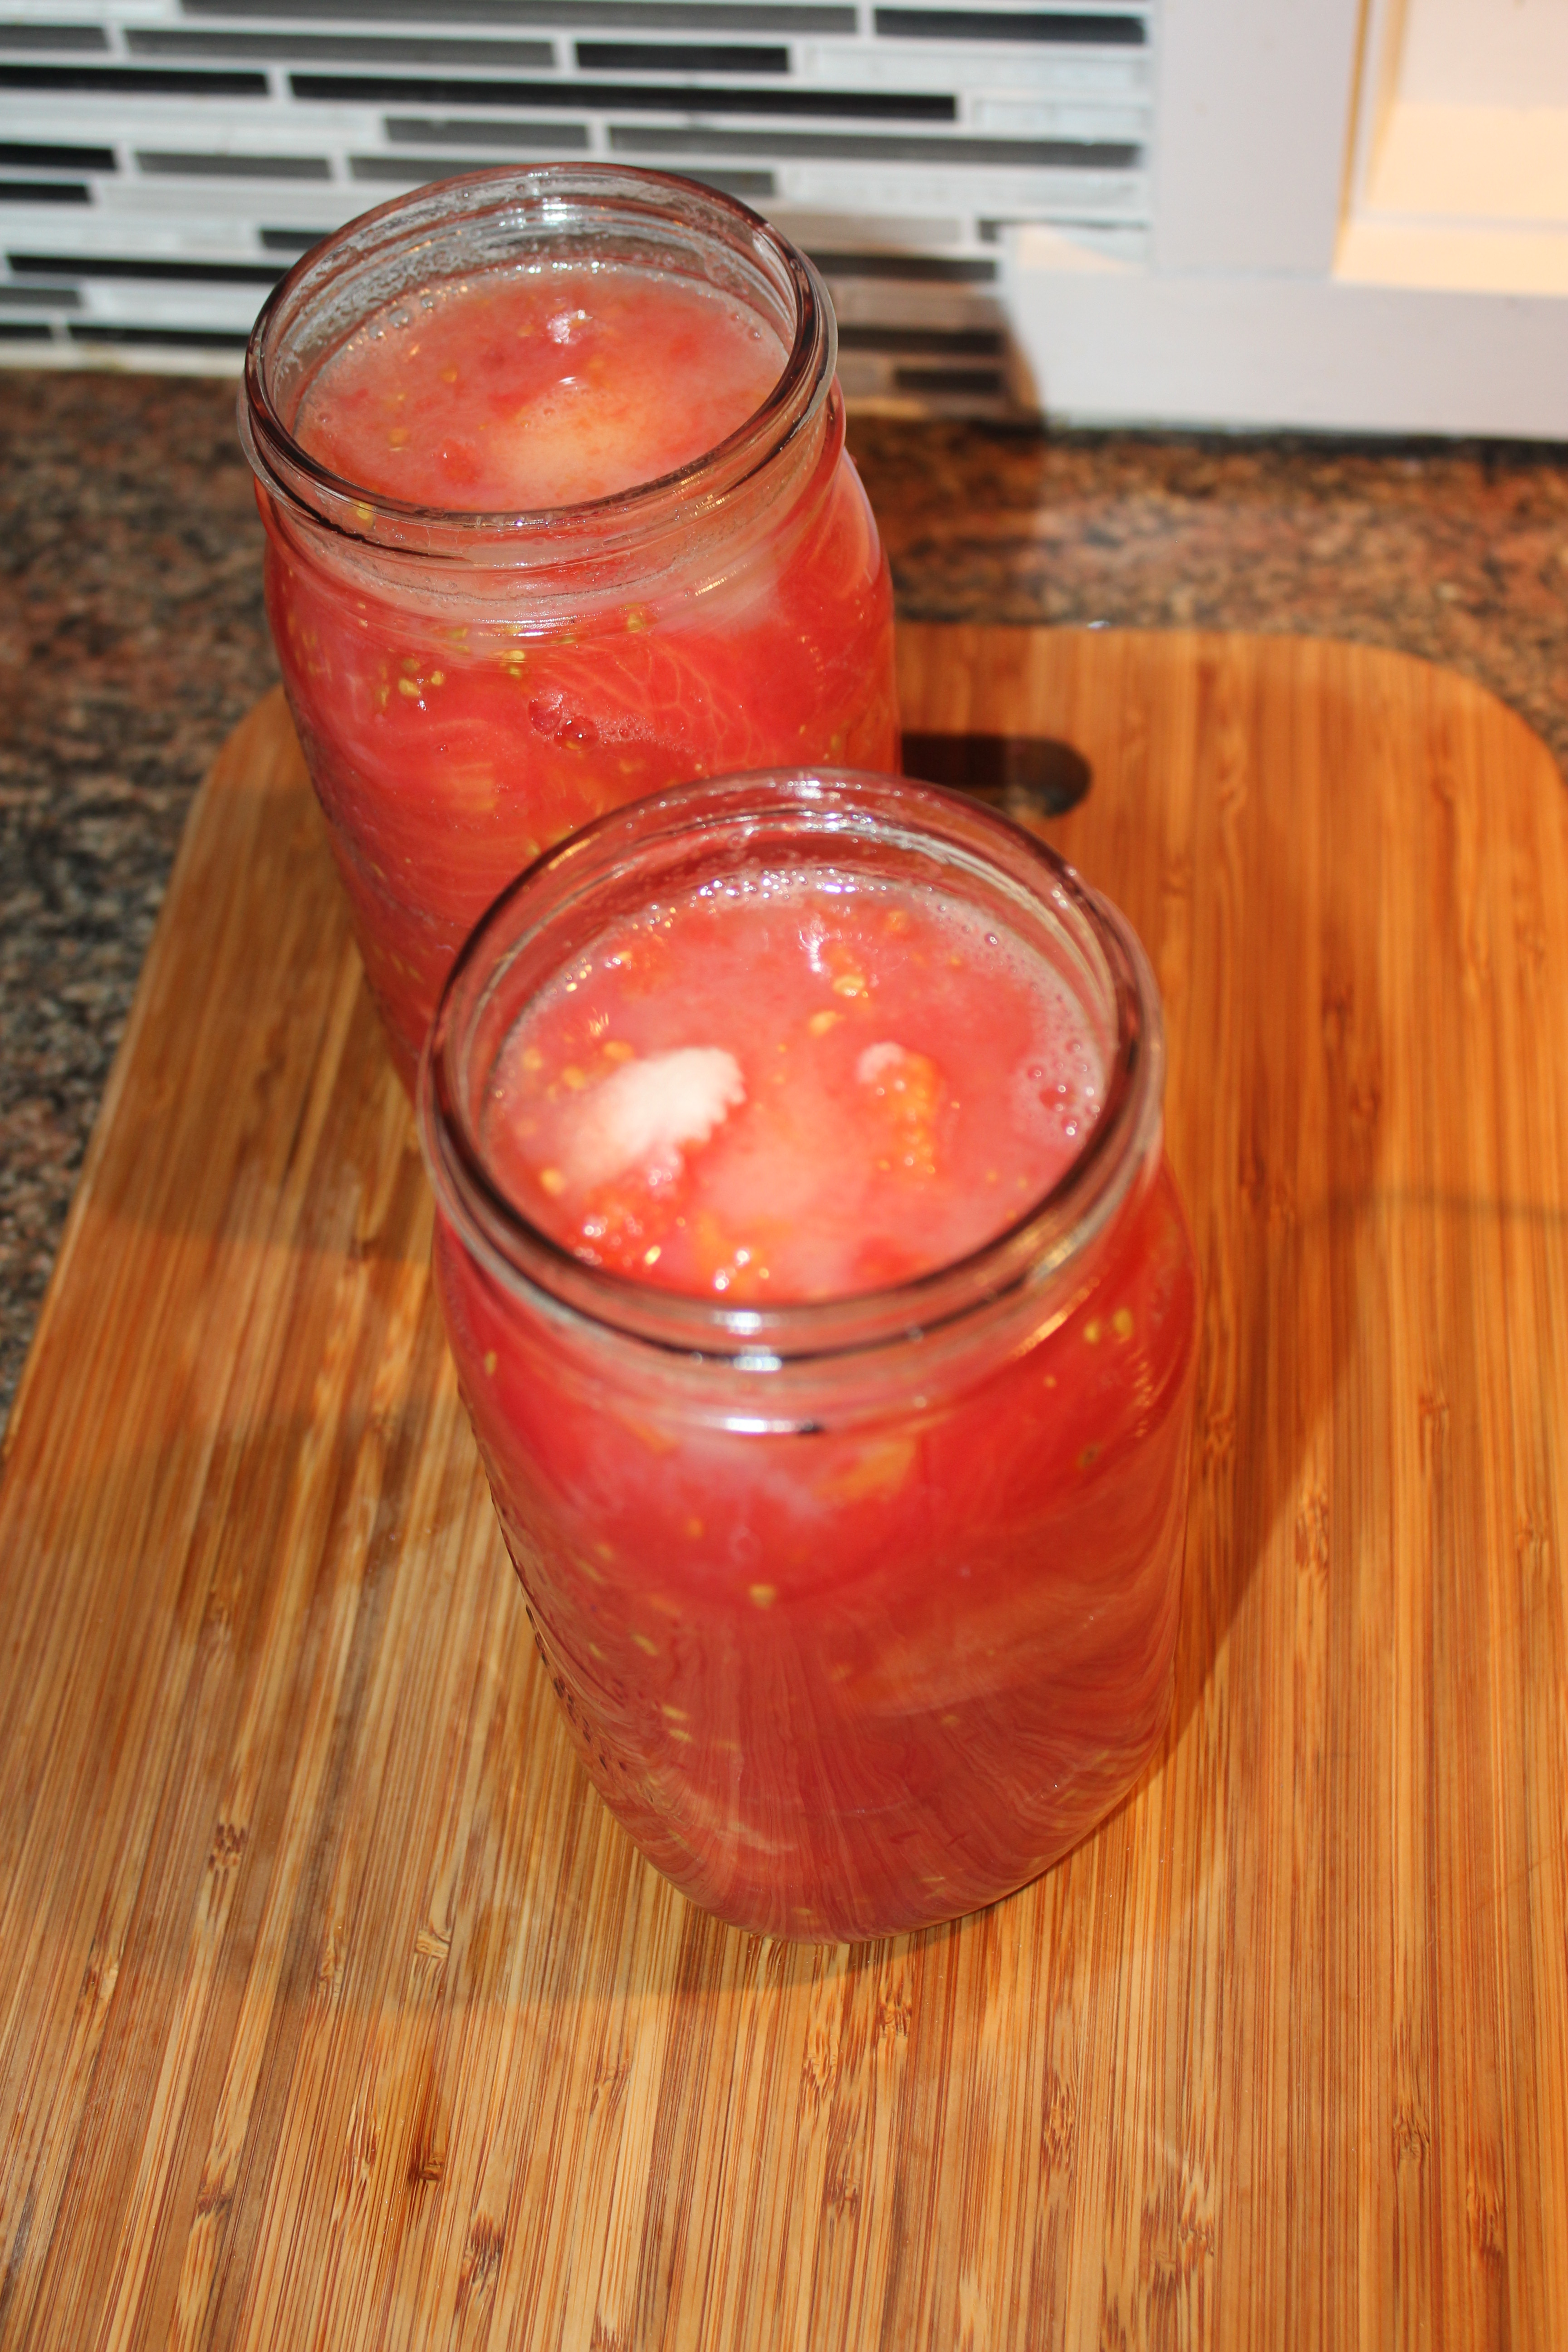
Remove a jar from the hot water using the tongs. Place a funnel on the jar (you probably won’t need to do this if using the wide-mouth jars) and add the tomatoes, lightly squishing them to release some of their own juices. You want to leave ½ inch of head space between the jar and lid.
Add salt (if desired) and lemon juice to the tomatoes.
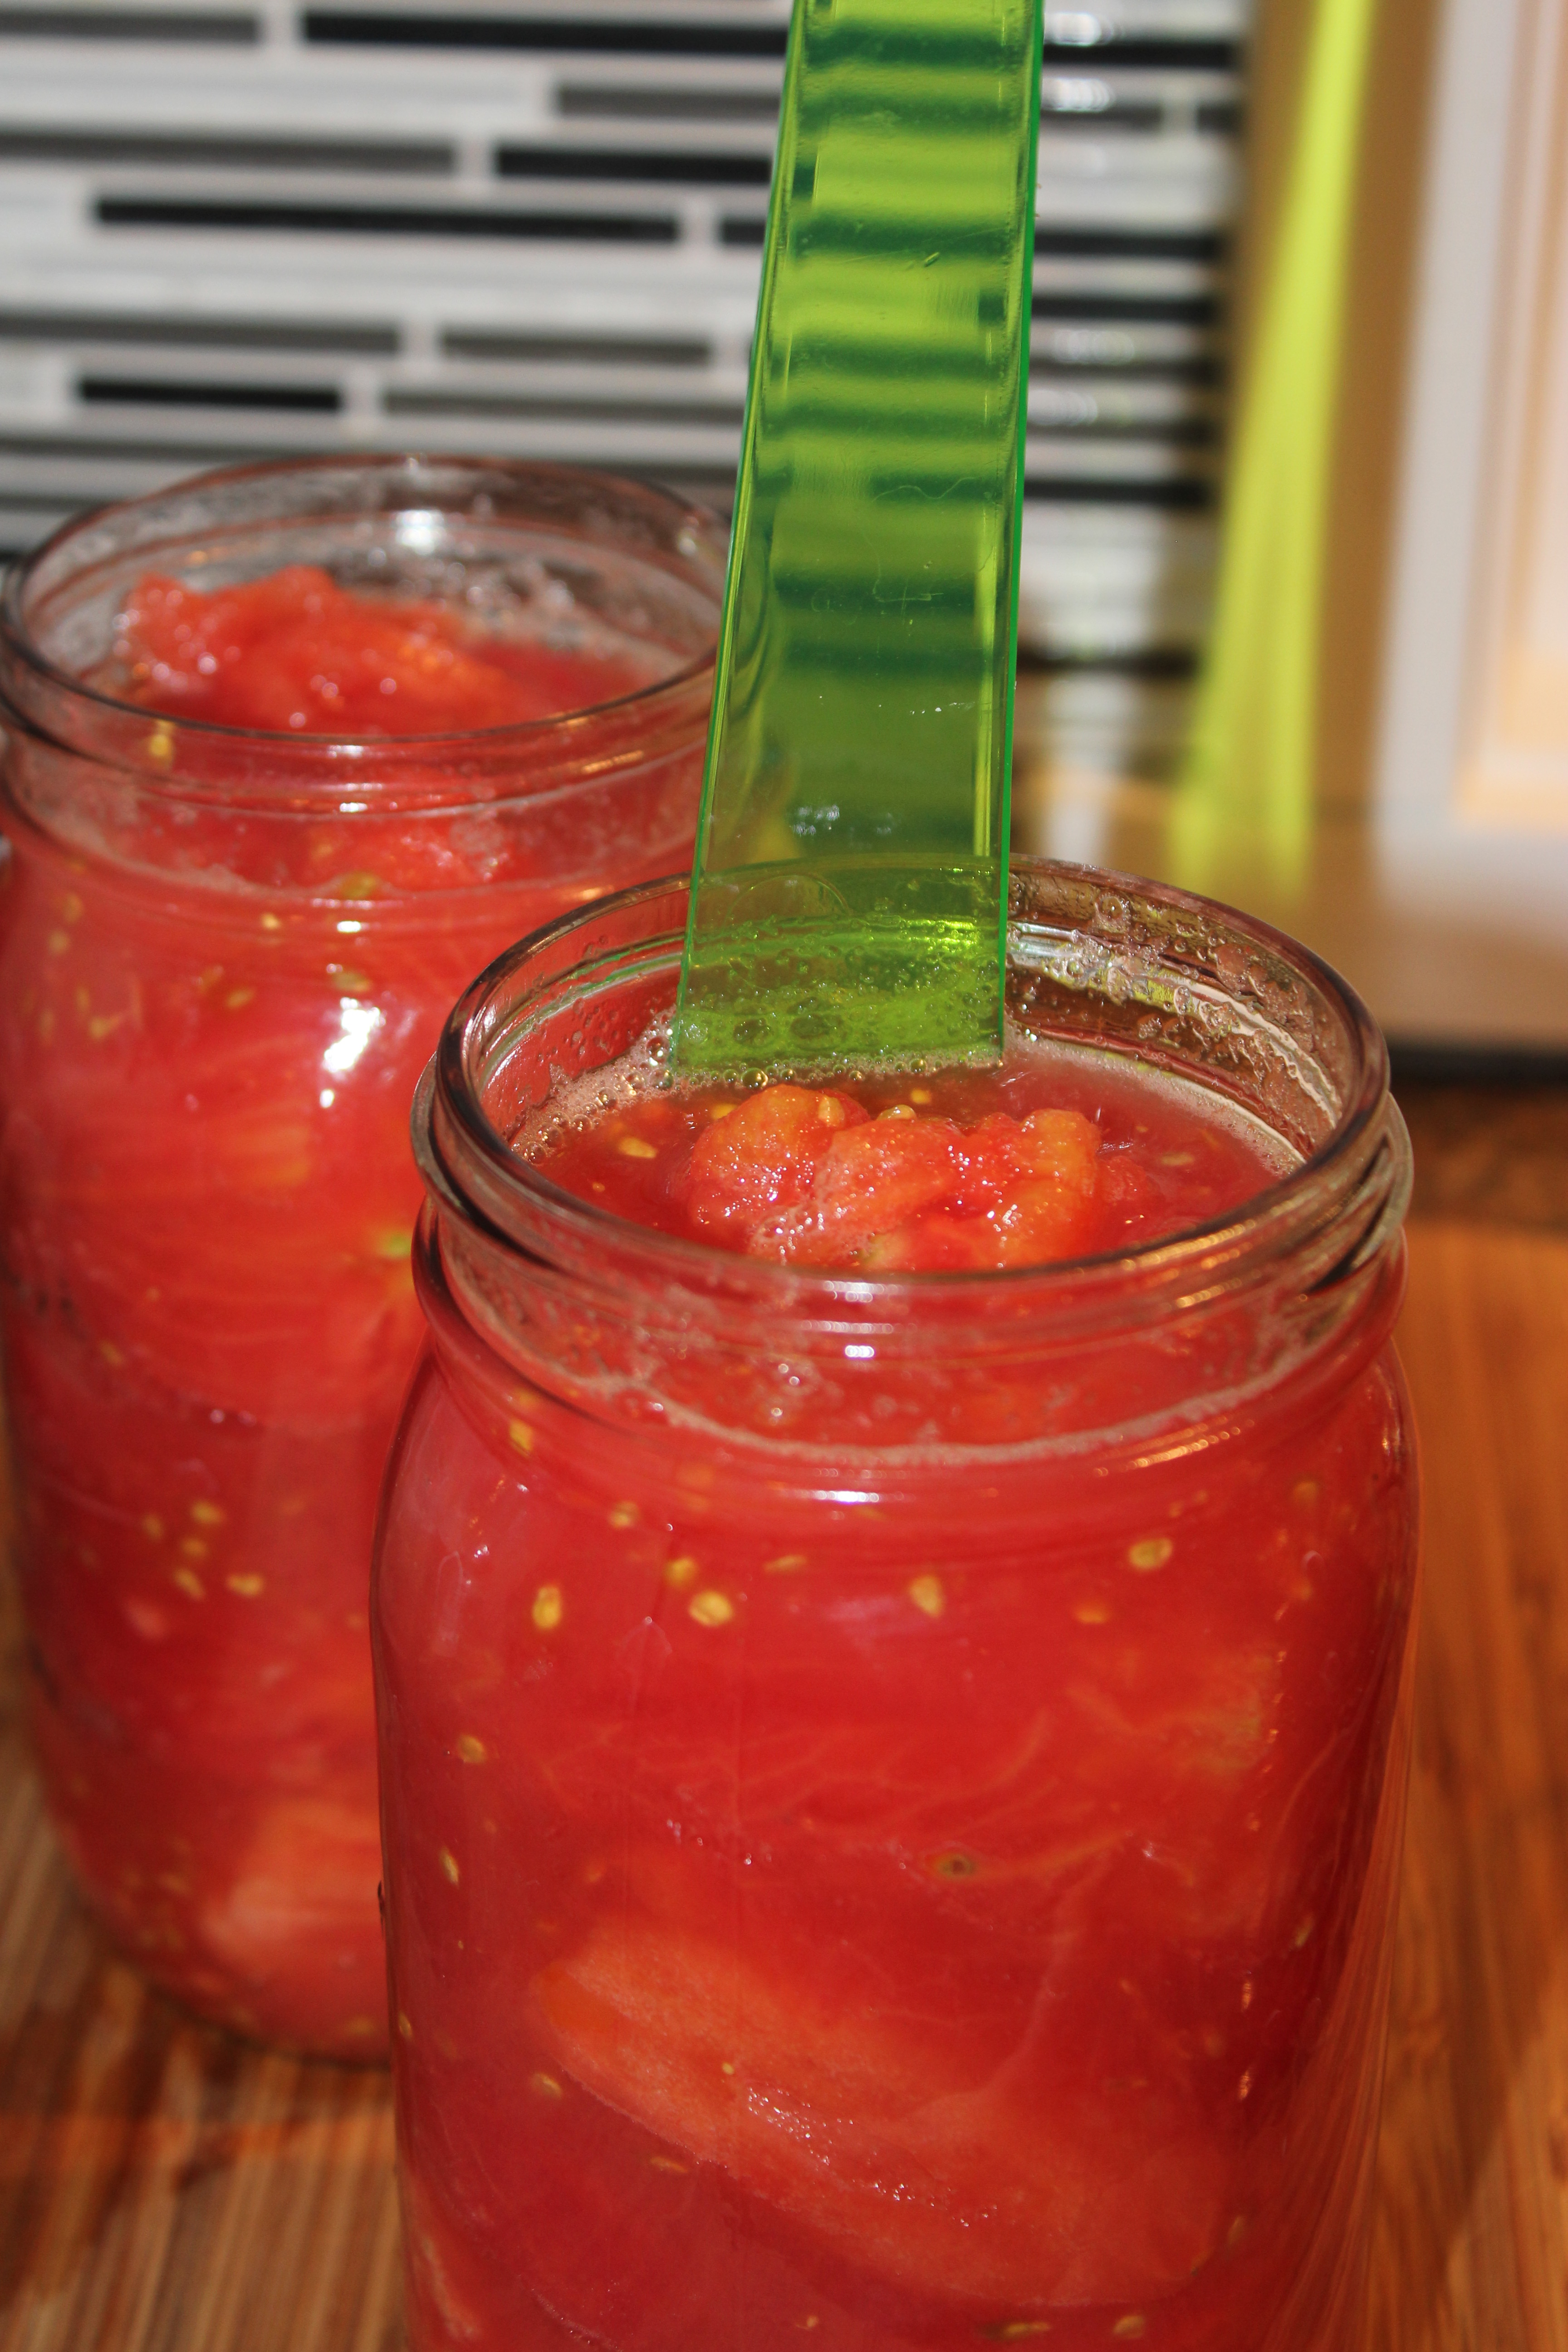
Remove the bubbles using a nonmetallic spatula or special bubble-remover thingy. Wipe the rim and threads of the jar until they are clean and dry.
Remove a lid from the hot water using your nifty lid wand and place it on the jar. Screw down the band evenly and firmly, just until resistance is met. Repeat this process for each jar.
Place jars on canning rack using the jar tongs. Add boiling water if necessary; it should cover the top of the jars.
Place the lid on the canner and bring the water to a rolling boil. Process quarts for 45 minutes, time starting when the boiling starts.

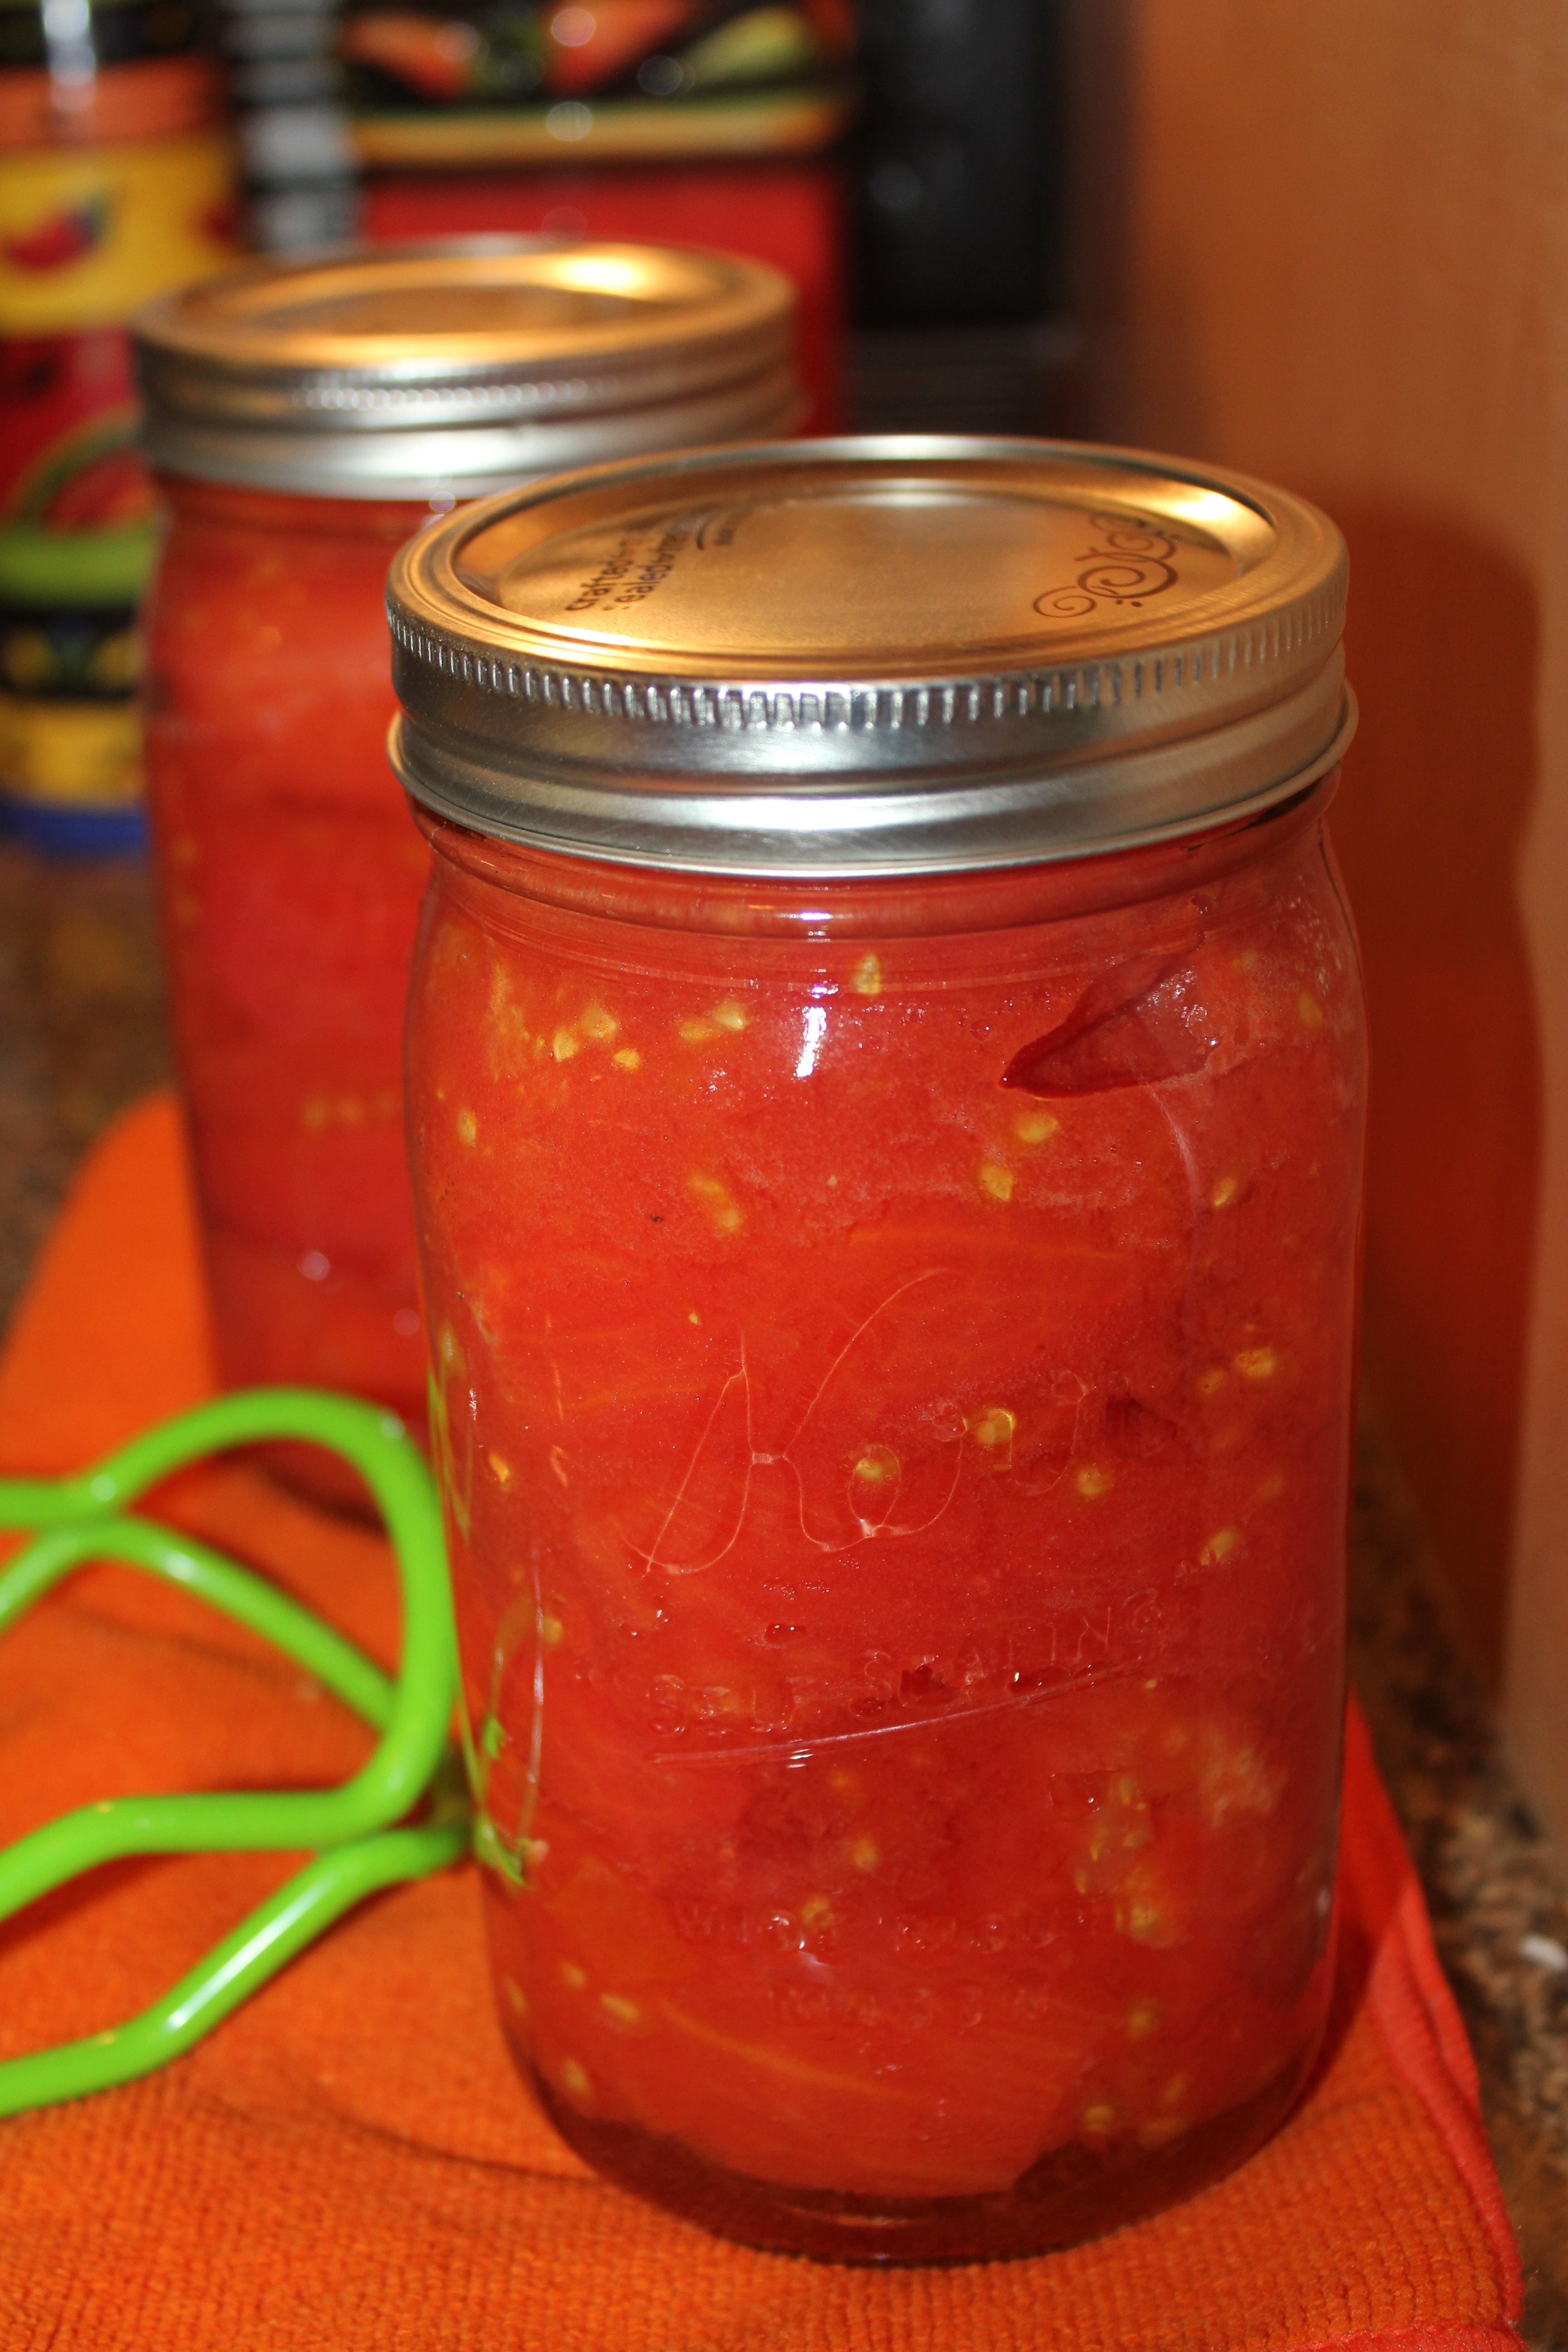
Turn off the heat and remove jars after 5 minutes, placing them a couple of inches apart on a dry towel. Let jars cool for a day and then check to see if the lids sealed properly (the lid should not flex.) Label your jars and store in a cool, dry dark place. And pat yourself on the back — your family will thank you later in the year!
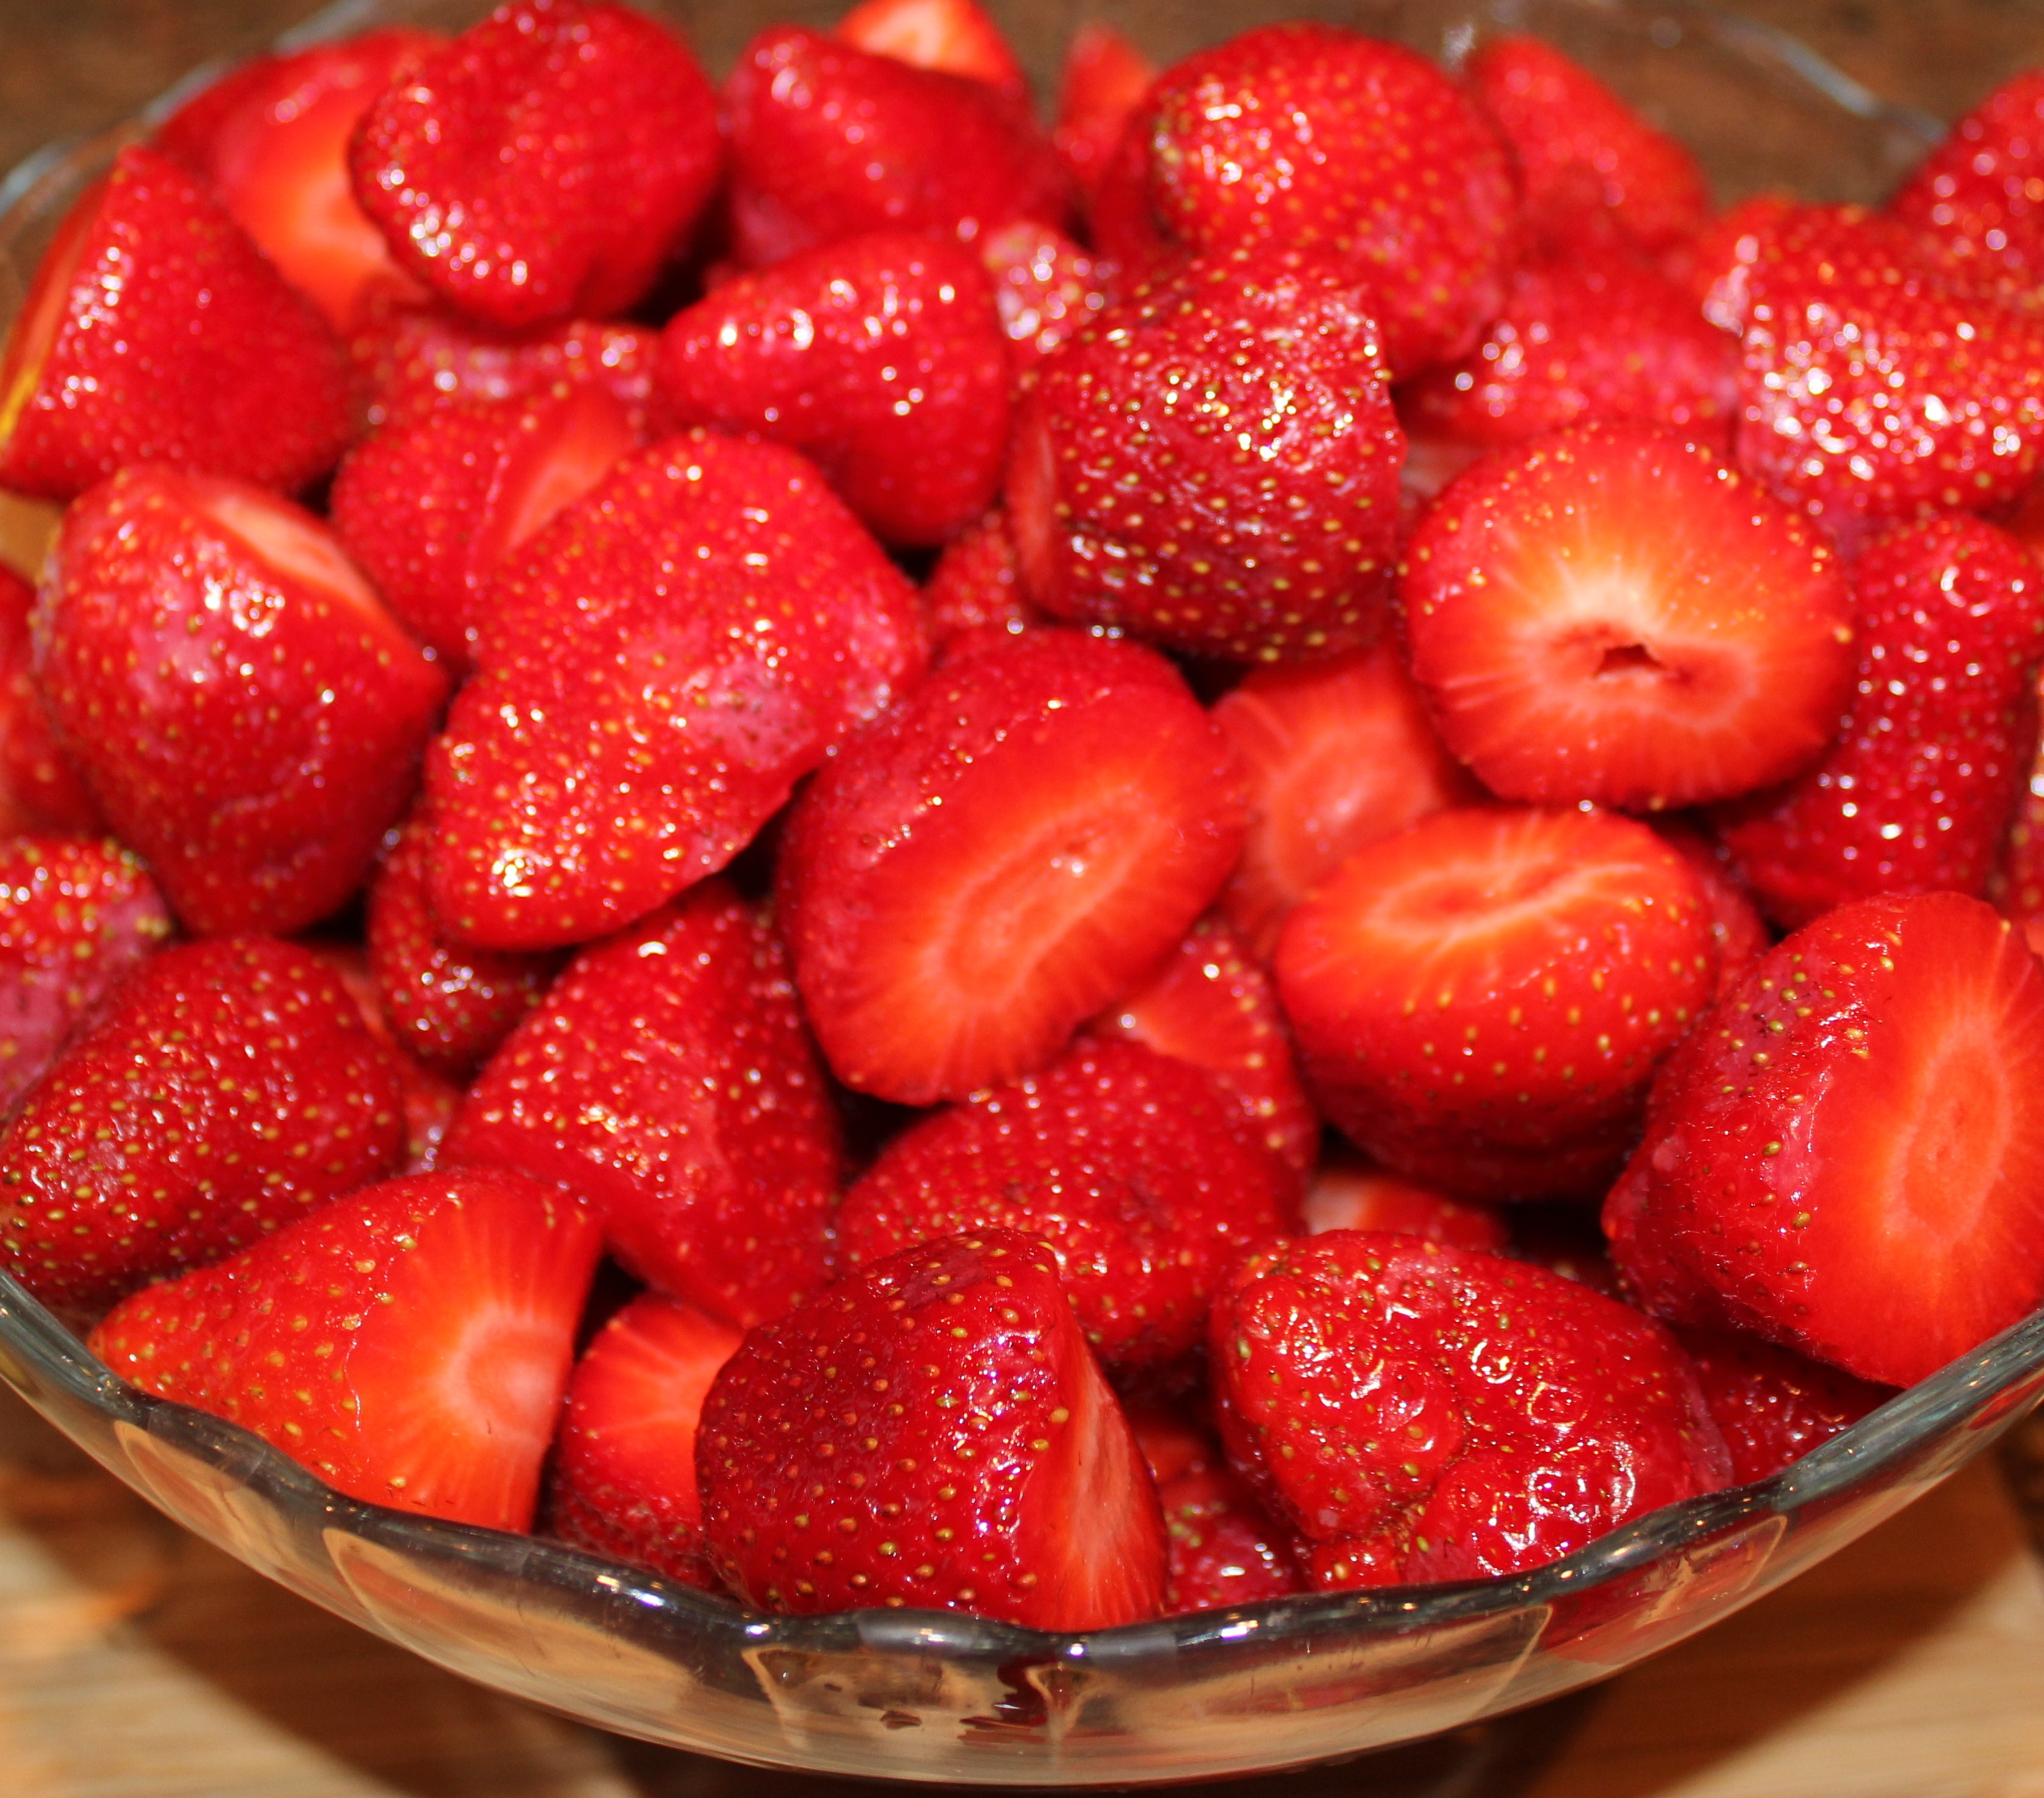
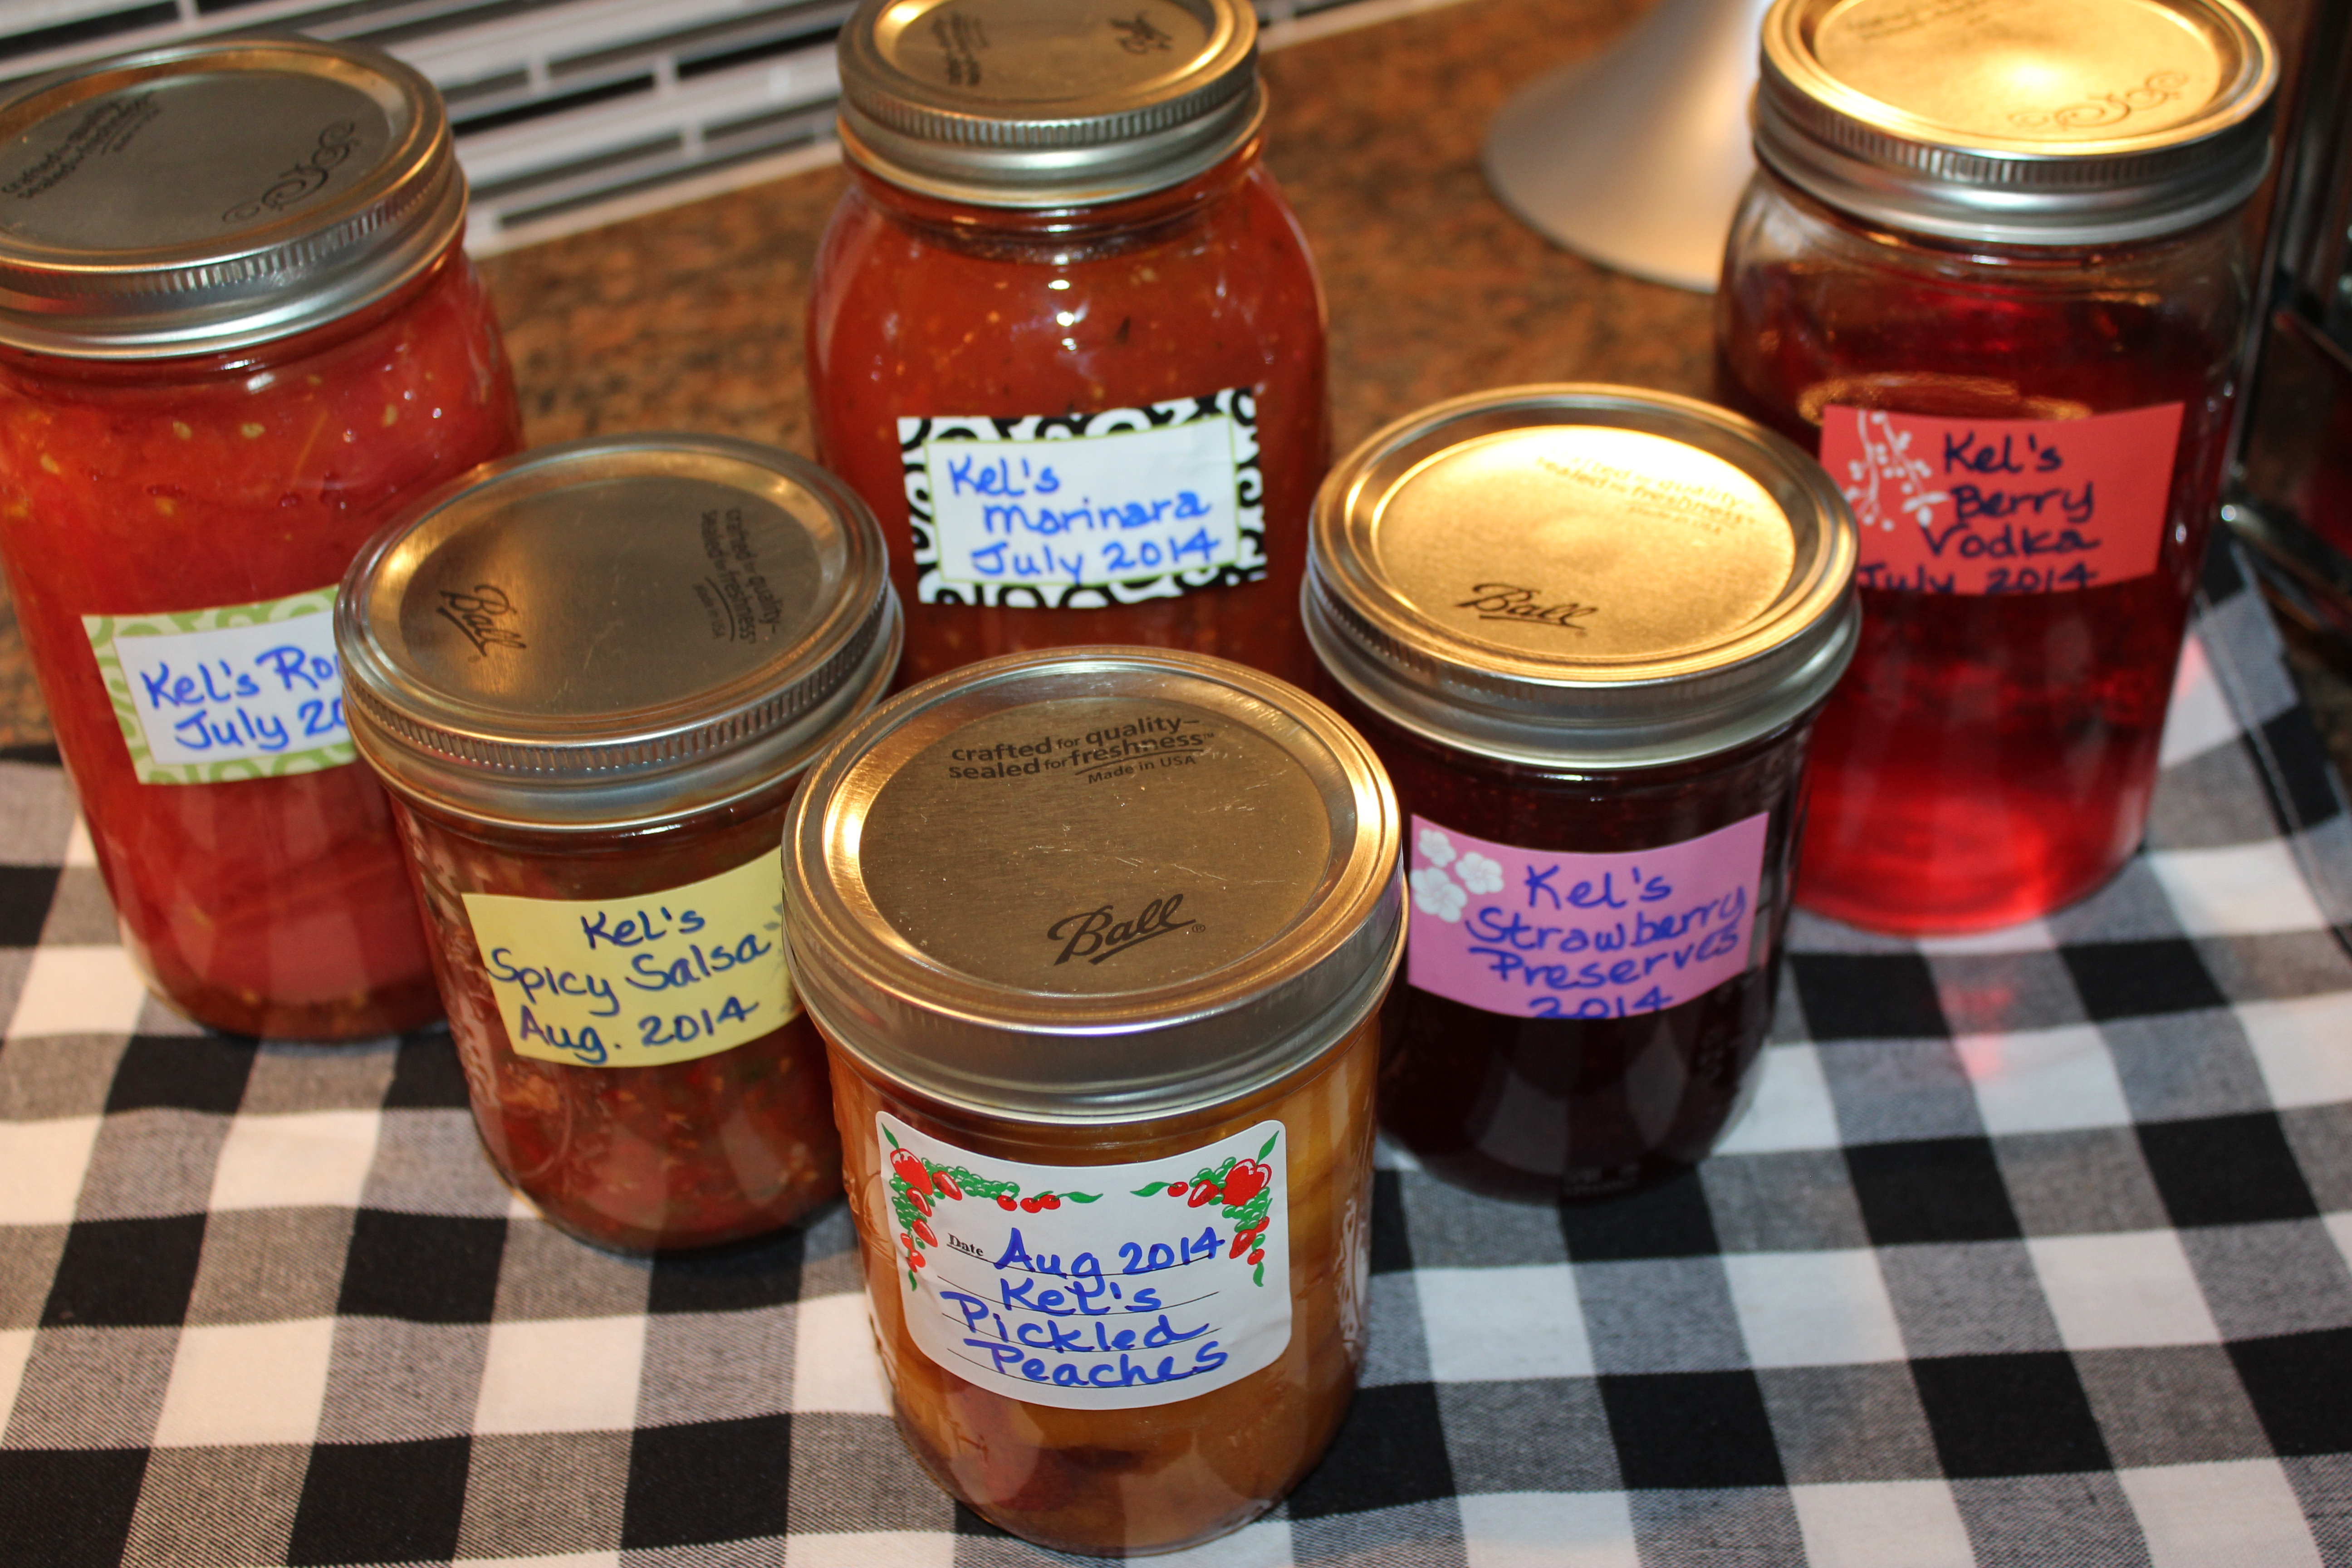
So far this year I have made strawberry preserves and canned Romas, pickled peaches (inspired by my Mamma), marinara sauce and spicy salsa (loud, loud shout out to my good friend PJ who supplied the delicious tomatoes for this!) Up next will be pickled jalapeños at Gabe’s request and some sort of cucumber pickles. I will start posting recipes as I open the jars and determine the contents are blog-worthy.
Okay, if I still haven’t convinced you on how easy it is to can, try Kel’s Quick and Easy Refrigerator Bread and Butter Pickles, which do not require the water bath.

Or, make some infused vodka, the easiest recipes of all! Once you see how simple these are to make, you should be inspired to take the next step into water-bath canning.

By the way, if you have a garden and any veggies you need to share, please keep me in mind. I will be glad to treat you with some of what I make, or come and help you if I get a jar in return. I may even bring over some infused vodka.
Bon appétit!
Eat, drink and be merry!
Follow Kel’s Café on Twitter at http://twitter.com/kelscafe


I can attest the strawberry preserves were delicious! And they weren’t too sweet. I’m almost done with them and I will return the jar. I’ve learned if you give the jars back to whoever gave it to you, odds are you will be the recipient of more yummy homemade goodies!
Thanks Mandi! And yes, it’s true about the jars 🙂
Publix had figs on BOGO last week, and I had a pile of Key Limes from my tree in the back yard, and it was a rainy weekend, so I made a great fig jam for the freezer, and Key Lime marmalade. Used a whole fruit method for the marmalade, but one big mistake: only boiled it until the fruit was soft. It seems I should have left it boiling for another hour so the rind would turn soft and mushy, too. Once I cut up the soft fruit and added the sugar the rinds turned leathery. The flavor is bright and magnificent, but the rinds are waaay too chewy. Would love to hear from anyone who has had this same problem with citrus marmalade and if longer boiling before sugar is indeed the solution. The fig jam is absolutely wonderful, from this recipe: http://www.lindasitaliantable.com/tag/freezer-fig-jam/.
Can anyone help out Karen?
Pingback: Kel’s Basic Spicy Marinara Sauce, Canning Version | Kel's Cafe of All Things Food
Pingback: Kel’s Spicy Salsa (Preserving Version) with Homemade Tortilla Chips | Kel's Cafe of All Things Food
Pingback: Celebrate International Can-it-Forward Day | Kel's Cafe of All Things Food
Pingback: You Can’t Beat These Beets! Canning with Ball Jars and a Giveaway! | Kel's Cafe of All Things Food